How to Hardwire a Wireless Security Camera

Have you been wondering how to hardwired a wireless security camera ?
As the security concerns continue to grow across the world, more and more security efficient tools are being developed to keep you safe and sound. Cameras are, no doubt, one of the oldest electronic devices used for safety in the houses and different types of workplaces.
With technological advancement, just like other devices, security cameras have also started to come in wireless variants. Wireless security cameras are of great use if you need to move your camera from one place to another from time to time.
However, suppose you do not require to change the position of your security camera anytime soon. In that case, it is recommended that you turn it into a wired one by hard-wearing it as that improves the signal quality and reduces the downtime of the camera due to signal interruption.
Do it Without Anyone’s Help
It might seem like an extremely hard thing to do, but trust us, it isn’t as hard as it sounds. You should simply follow a few stages to complete it in no time. We have arranged out of steps that can help you in doing it beneath:
Reset Camera
To make a remote camera a wired camera, you have to reset its system settings, and you can do it by putting a paper clipper in the reset gap that you can undoubtedly discover at the base of the camera or its rear.
Shop for Things
Guarantee that you have all the things that are required for the progress. Typically, all you need is a linking cable, an electrical outlet close to your camera, and the router.
Measure and Plan
You have to check out the way for cable from your camera to the router. You likewise need to guarantee that the way that associates the both isn’t at a spot where individuals walk or the link can be at risk of contact to extraordinary warm temperatures or sharp items.
Link Up
Presently when you have all that you need and you have arranged the system out, you should simply interface the ethernet link to the nearby port that is situated on your remote router at the back. Afterward, associate the opposite end to the port on the rear of your surveillance camera.
Power On
Presently, all your camera organize settings are finished, and to make your camera work, you should simply interface the camera to the electrical plug closest to it and turn it on to give it the essential power to work.
Investigate
Even after doing all the procedures for your camera, it doesn’t interface with the router you can reset your camera’s settings, or you can turn it off and turn it on again to invigorate it. If the issue perseveres, it might be because of a defective link or switch setup.
You may take the assistance of a system association master for help.
Security matters to each individual and association; subsequently, it is acceptable to utilize a wired surveillance camera rather than a remote one.


Related Articles
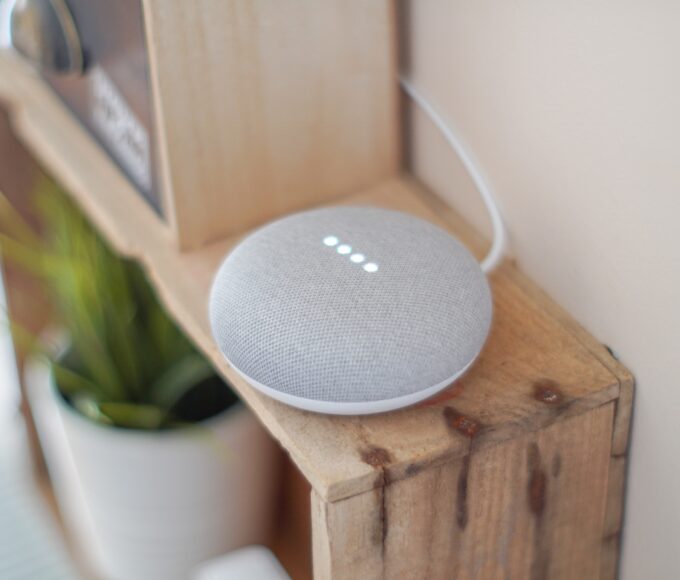
How to Connect Lights to Google Home mini
Connecting your lights to your Google Home Mini can be a game-changer...

DIY workstation sink at home
Setting up a workstation sink at home can be a great addition...
How To Use An Induction Cooking For Dummies
Have you been looking for the best ways to use induction cooking...
How to choose the right vacuum cleaner for your home
How to choose the right vacuum cleaner for your home can sometimes...