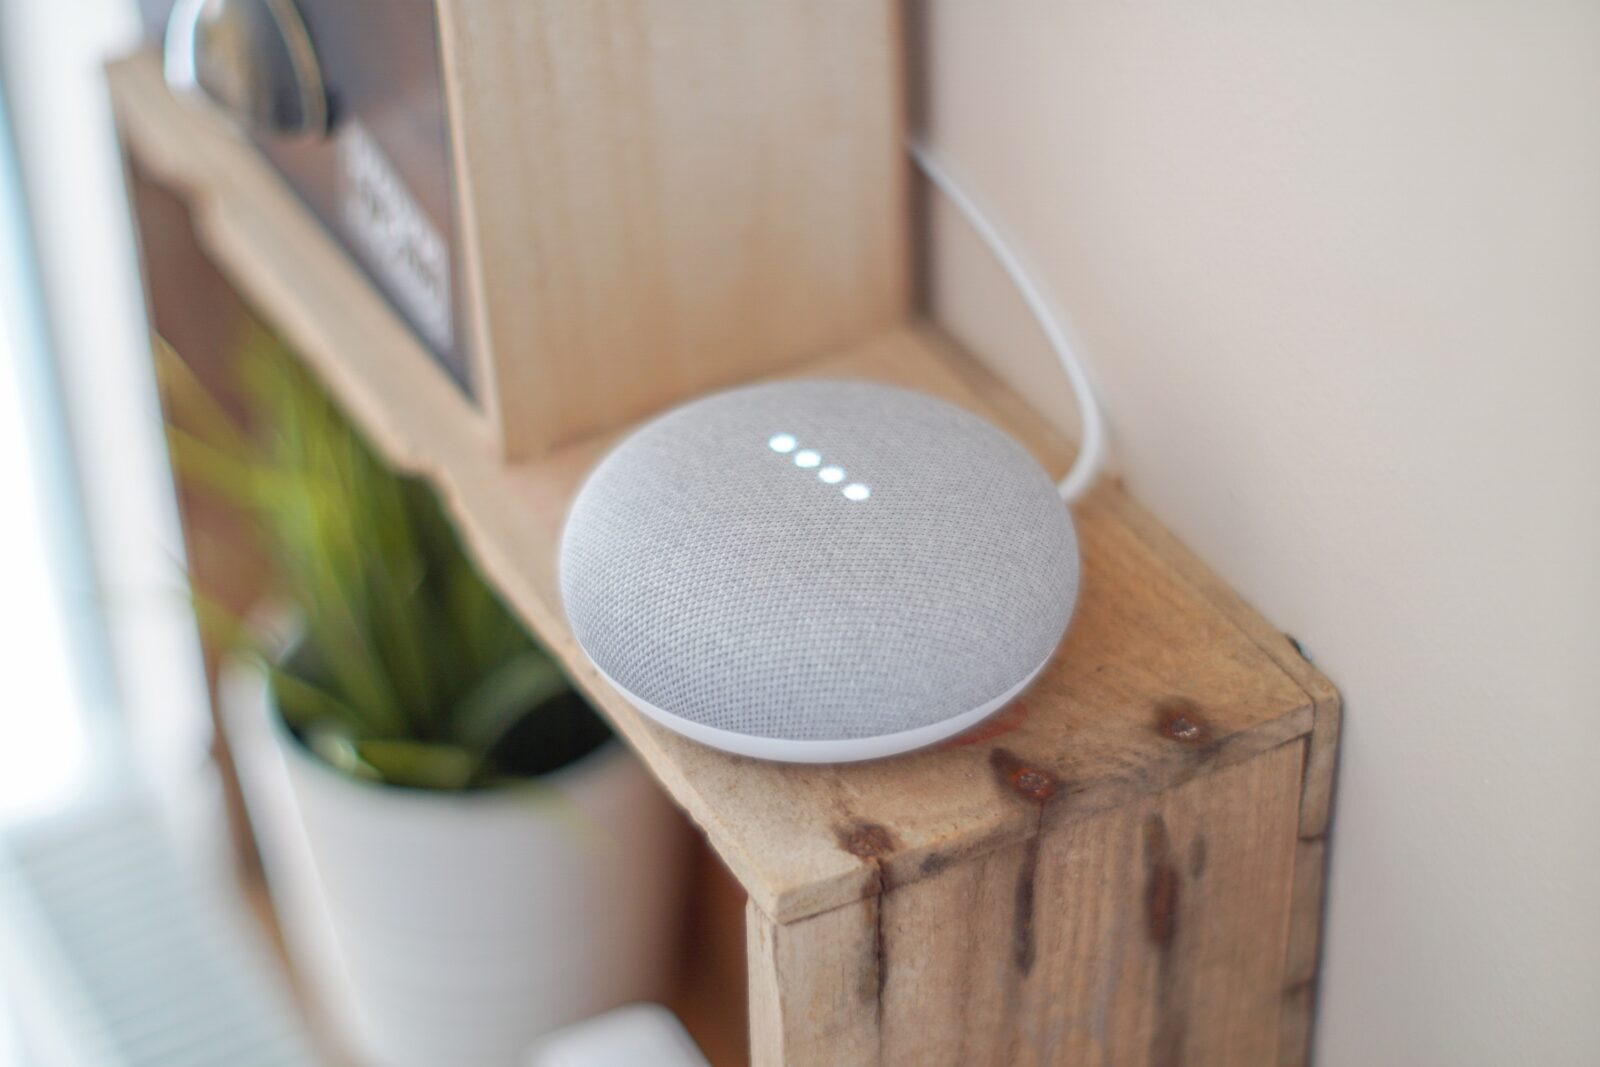
How to Connect Lights to Google Home mini

Connecting your lights to your Google Home Mini can be a game-changer in terms of convenience and ease of use. Not only can you control your lights with your voice, but you can also set schedules and create routines to make your life even easier. In this guide, we’ll take you through the step-by-step process of connecting your lights to your Google Home Mini.
Step 1: Check Compatibility
Before we begin, it’s important to check whether your lights are compatible with Google Home Mini. Most modern smart lights are compatible, but it’s always best to double-check before you start the setup process. You can do this by visiting the Google Home app and selecting the “Add” button. From there, select “Set up device,” then “Works with Google.” Here, you can browse through a list of compatible devices, or search for your lights by name. You can also find this information on the packaging or in the product description on the manufacturer’s website
Step 2: Set up Your Smart Lights
If your lights are compatible with Google Home Mini, you can proceed to set them up. Follow the manufacturer’s instructions to connect your lights to your home Wi-Fi network. This usually involves downloading a dedicated app, and pairing your lights with your phone.
Step 3: Connect Your Lights to Google Home Mini
To connect your lights to your Google Home Mini, open the Google Home app and select the “Add” button. From there, select “Set up device,” then “Have something already set up?”. You will then be prompted to select your lights from a list of compatible devices.
Step 4: Name Your Lights
Next, you’ll want to name your lights. This is important because it will help you to control your lights more easily with voice commands. Choose a name that’s easy to remember and relevant to the location of your lights, such as “living room light” or “bedroom light”.
Step 5: Test Your Lights
Once your lights are connected, it’s a good idea to test them out. You can do this by asking Google Home Mini to turn your lights on and off, or to dim them. If your lights aren’t responding, double-check that they’re connected to your home Wi-Fi network and that they’re turned on.
Step 6: Create Routines
Now that your lights are connected to Google Home Mini, you can create routines to automate your lighting. For example, you can create a routine that turns your lights on when you arrive home, or one that gradually dims your lights as you prepare for bed. To do this, open the Google Home app and select “Routines” from the menu.
In conclusion, connecting your lights to Google Home Mini is a simple and straightforward process that can make your life more convenient and enjoyable. With just a few steps, you can enjoy the benefits of smart lighting, and create a more comfortable and welcoming environment in your home.
Recent Posts
Best Smart Light Switch For Google Home
6th May 2023Best No Hub Smart Bulbs For Alexa And Google Home
6th May 2023How to connect smart light to google home
6th May 2023Best 2 burner induction cooktop built-in
29th April 2023Related Articles
Diy Home Security Systems With Outdoor Cameras
Having a home security system used to entail joining up with a...
ByOlaoluwa Johnson T.6th December 2021Home Security Tips From A Master Burglar
Do you need a Security Tips From A Master Burglar? Property theft...
ByOlaoluwa Johnson T.3rd December 2021How To Power An Outdoor Security Camera
How To Power An Outdoor Security Camera? What is the source of...
ByOlaoluwa Johnson T.10th November 2021How Does A Wireless Alarm System Work
It’s not just about having a wireless alarm system in your home;...
ByOlaoluwa Johnson T.10th November 2021


